plastikcam.com       Diana F+ Accessories

Now the accessories:

jpg/diana_f_accessories_IMG_6890.JPG
The accessories that come with the Deluxe Kit.

jpg/diana_f_flash_IMG_6896.JPG
The Diana Flash. Its form is inspired by the original 1960s bulb flash. For a simple electronic flash with a low guide number it's quite expensive, but handy because it matches the cameras style and its unusual flash socket. It is much cheaper in a bundle with the camera.

jpg/diana_f_flash_IMG_6897.JPG
Flash attached.

jpg/diana_f_flash_IMG_6824.JPG
The flash can be bought with useful accessories: a Diana socket that can attach the Diana flash to any camera with a hot shoe and socket that matches the Diana socket and gives you a hot shoe so that you can attach any hot shoe flash to your Diana. Takes one AA battery. Flash guide number only ~15 (m/ISO 100).

jpg/diana_f_flash_IMG_6823.JPG
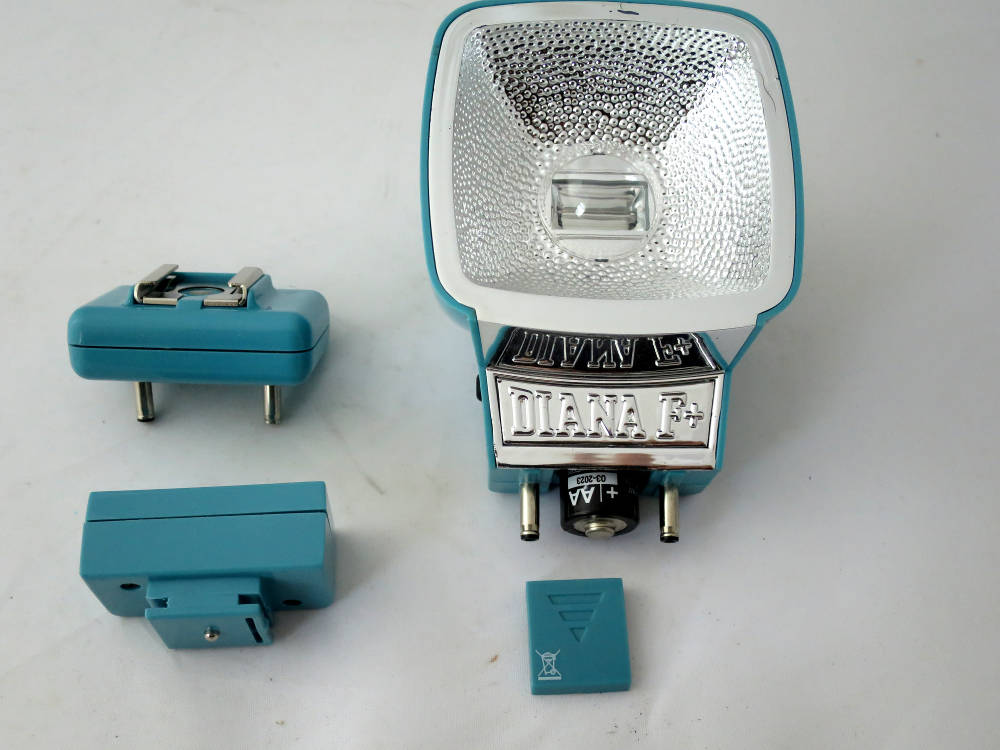
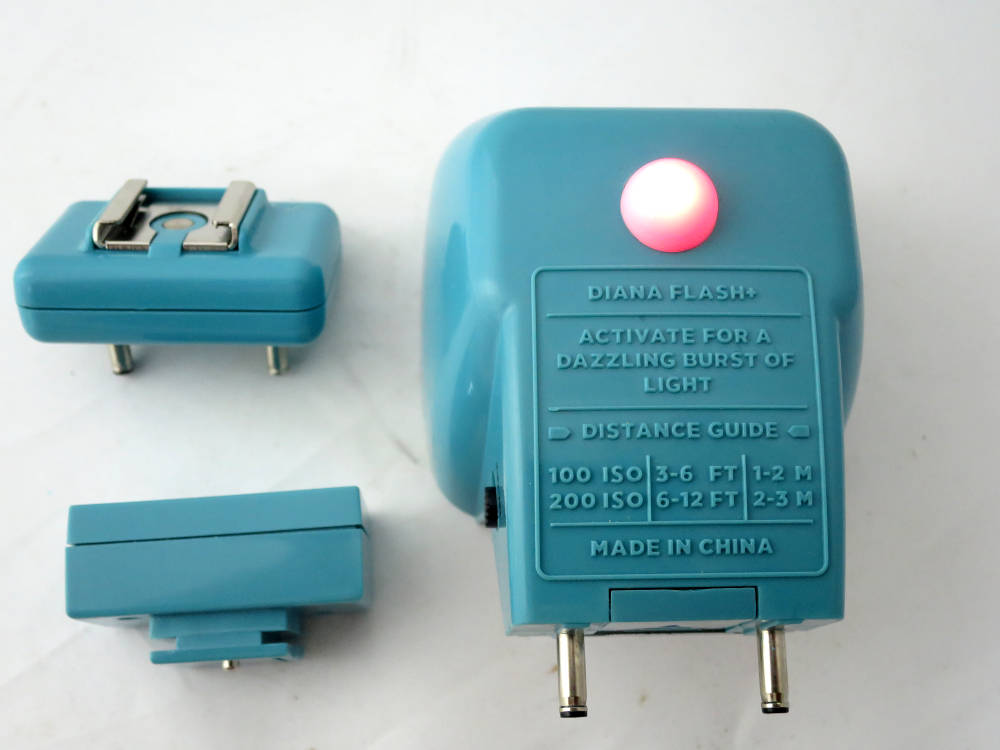
Rear view. Control light on. Distance indicator on the housing. As the lowest F-stop is F8, with a guide number of 15 you can only shoot as far as 2m on 100 ISO film.

jpg/diana_f_cable_release_IMG_6862.JPG
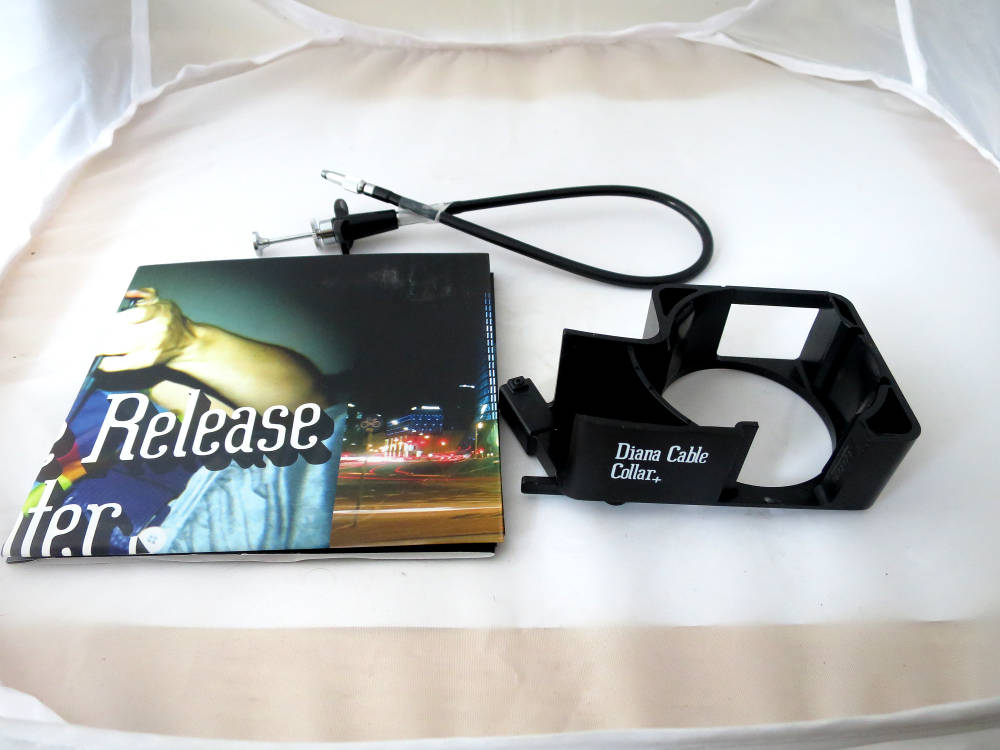
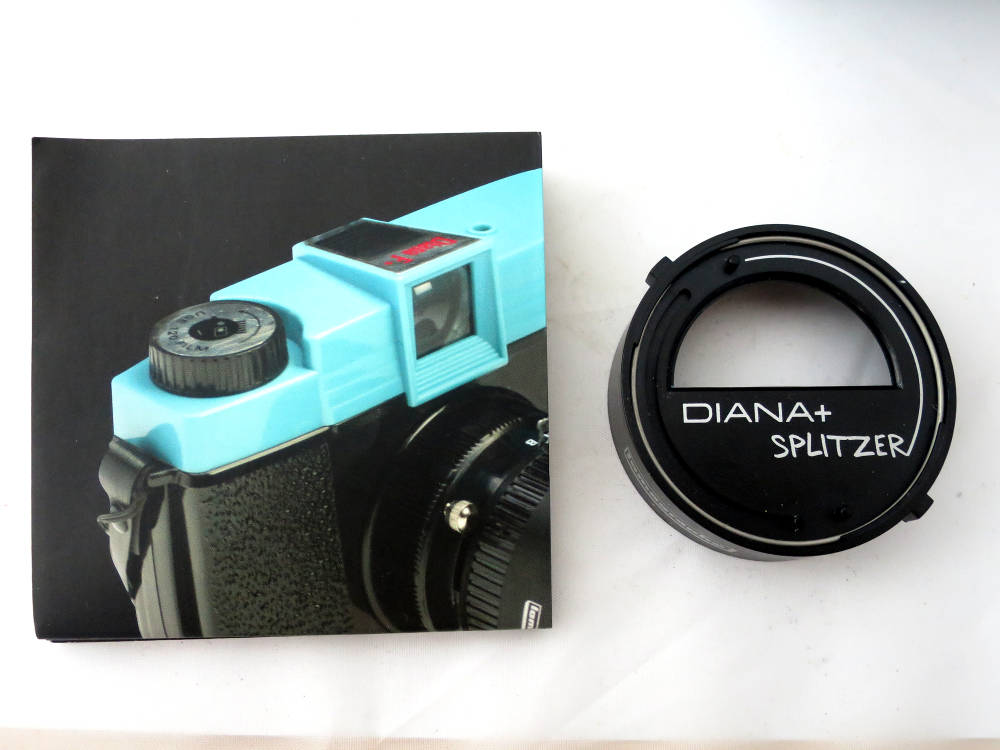
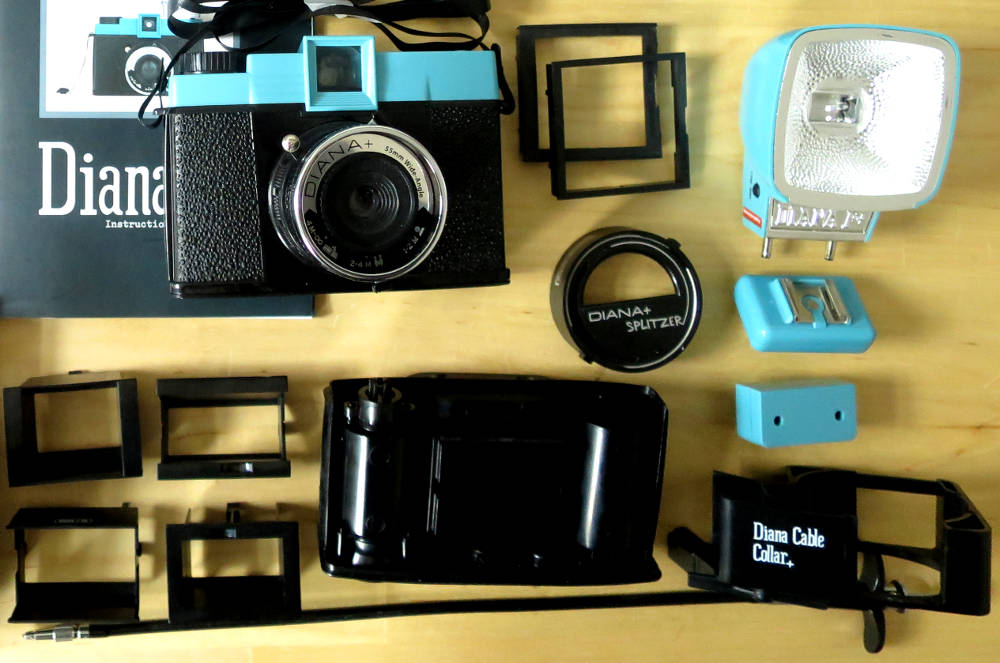
Cable release collar, cable release and instructions sheet.

jpg/diana_f_cable_release_IMG_6863.JPG
Collar and cable attached. The device slides onto the lens barrel.

jpg/diana_f_cable_release_IMG_6864.JPG
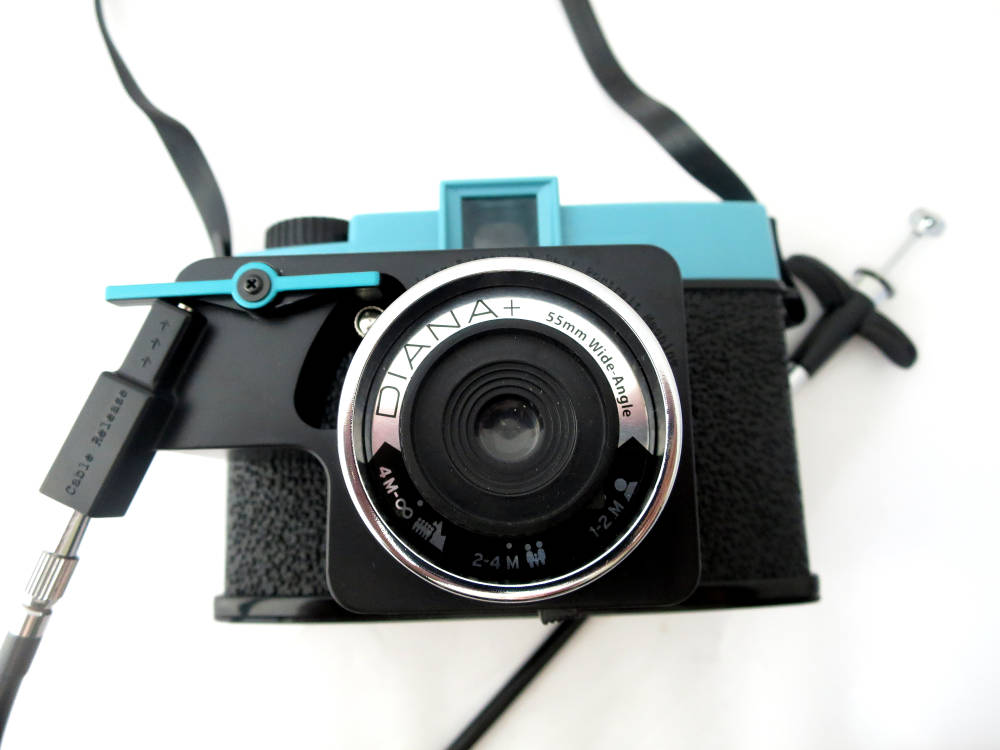
The movement of the cable pushes the arm that trips the shutter release.

jpg/diana_f_35mm_back_IMG_6865.JPG
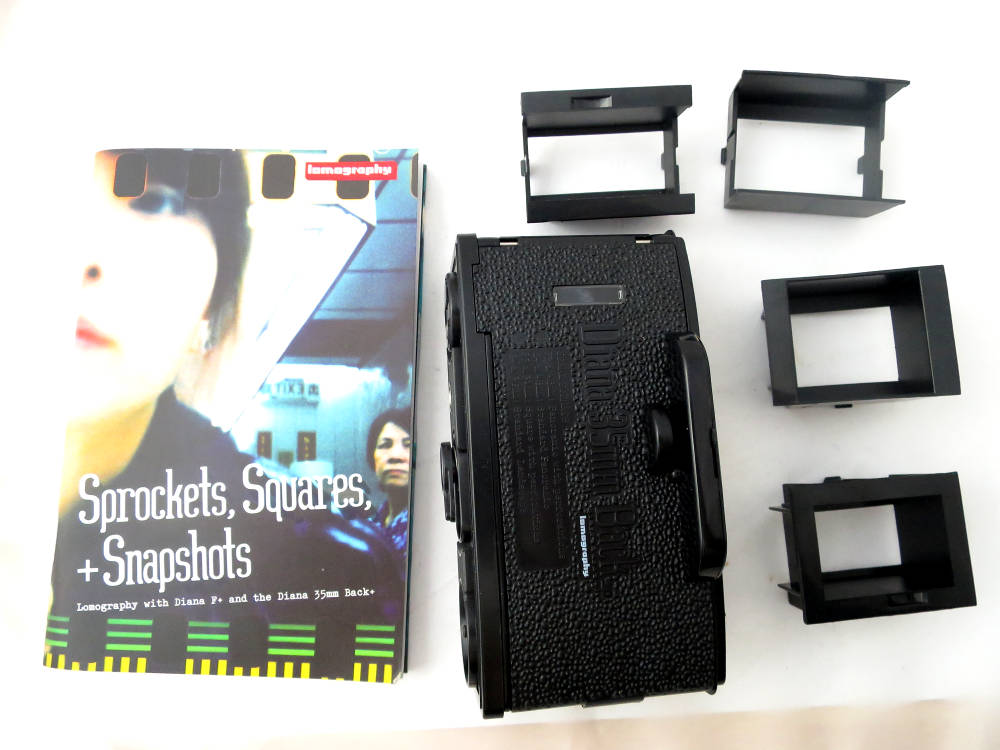
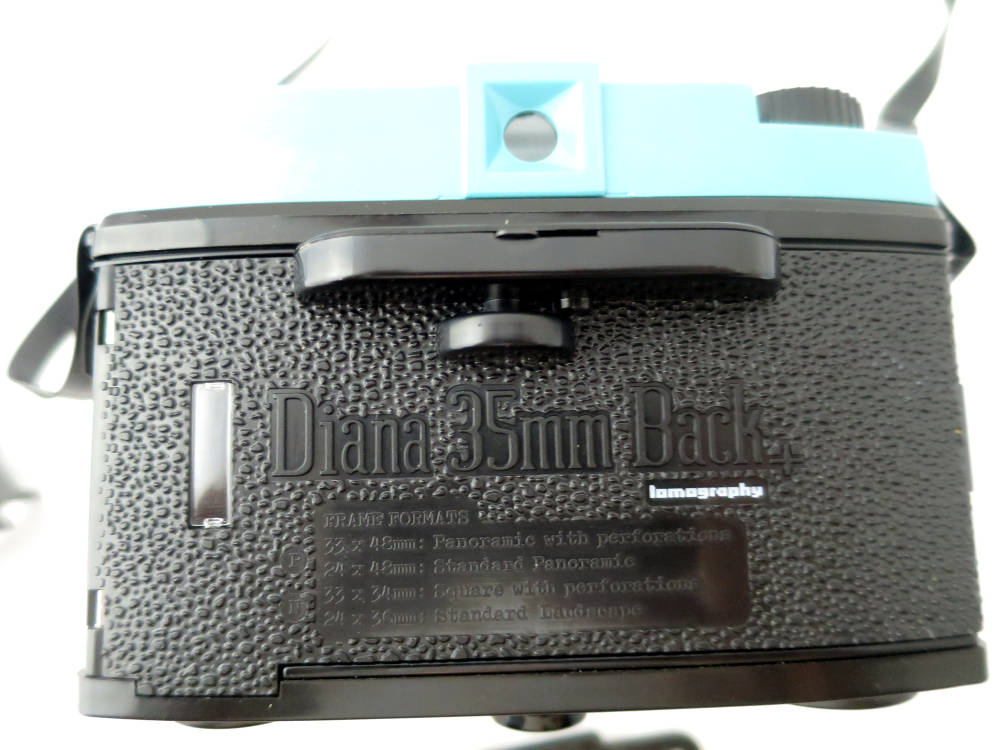
The 35mm back, 4 frame masks and the instructions sheet.
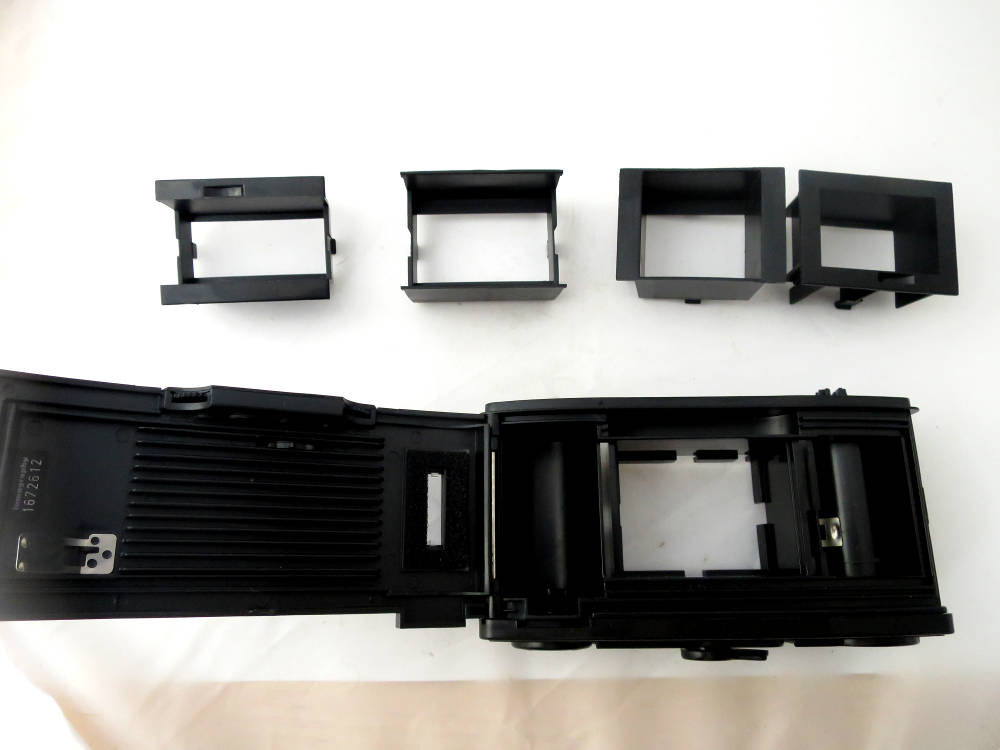
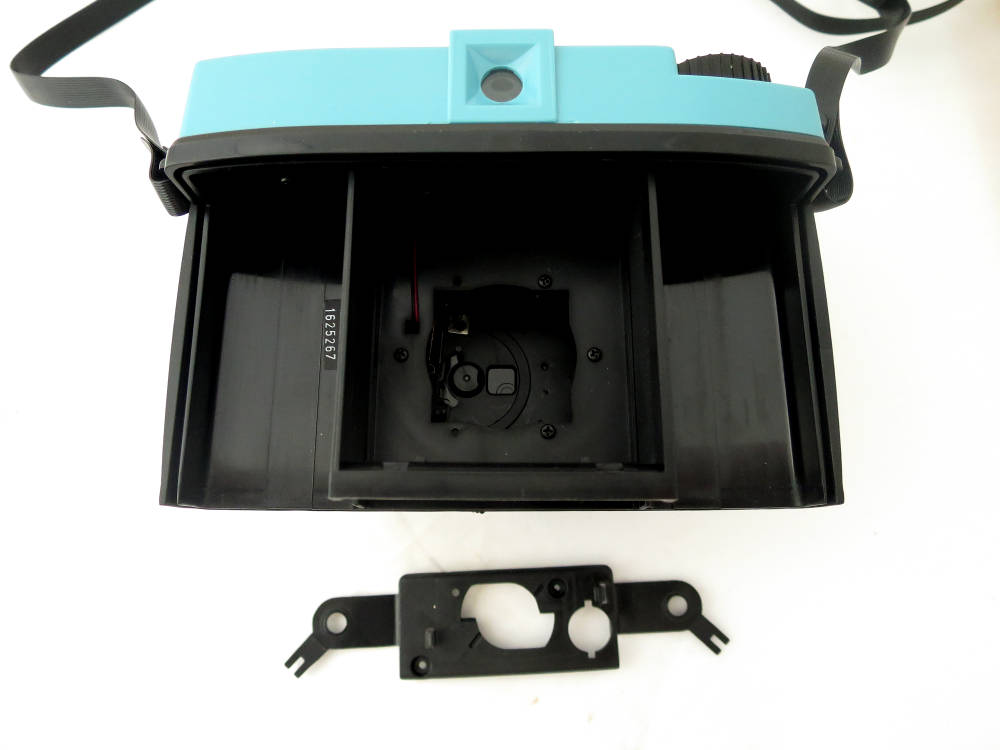
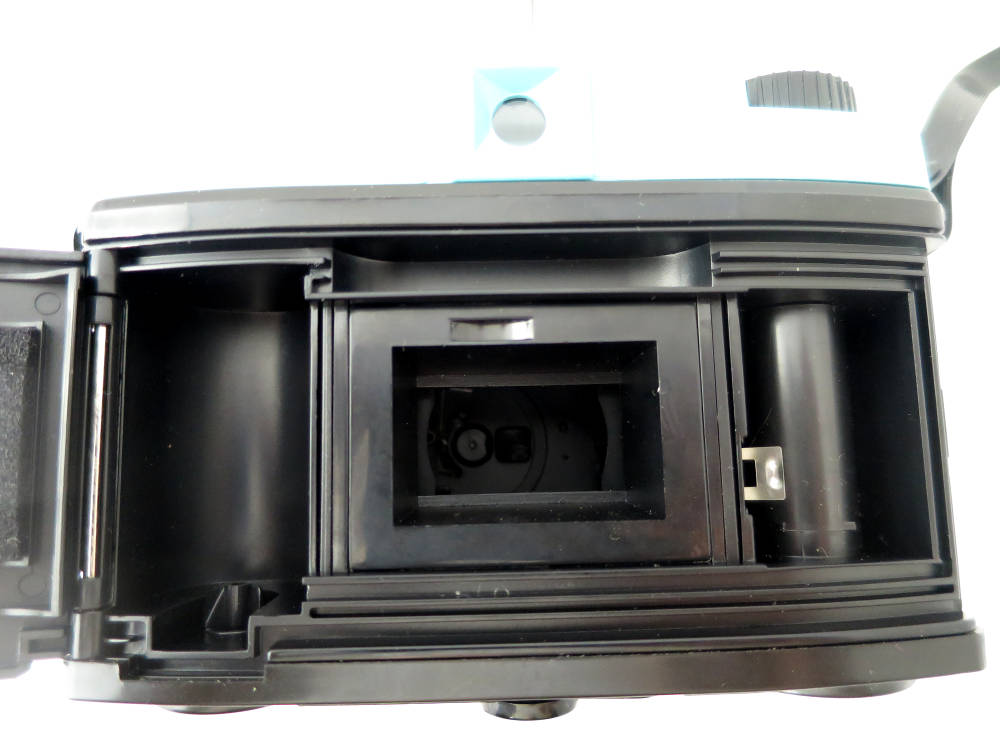
jpg/diana_f_35mm_back_IMG_6866.JPG
The back open.

jpg/diana_f_35mm_back_IMG_6867.JPG
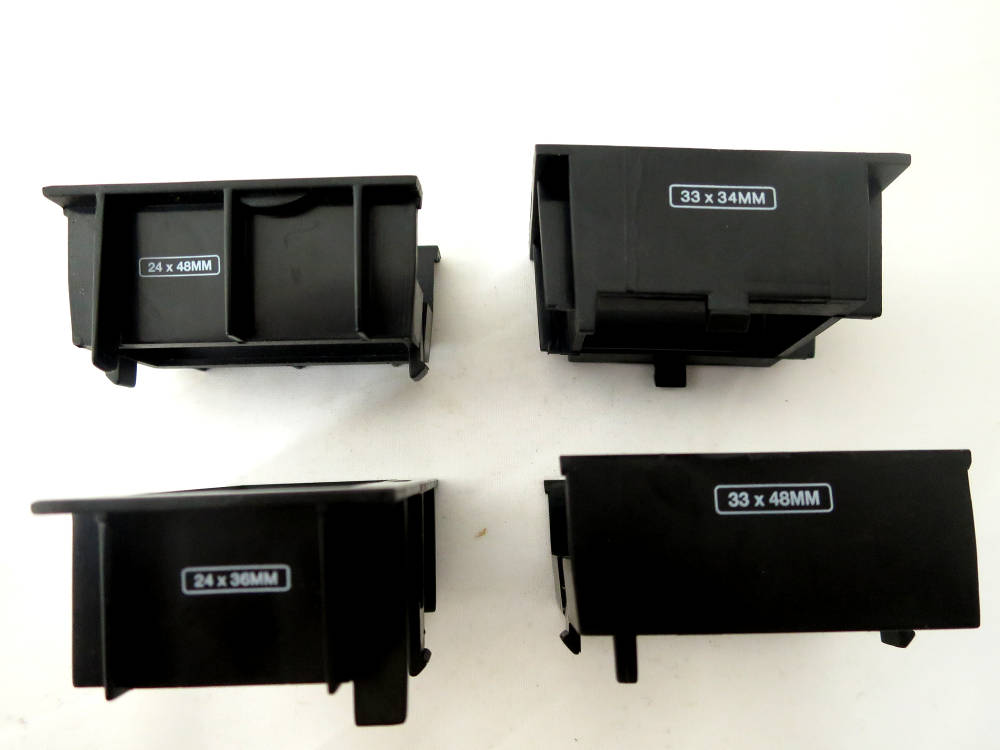
The 4 masks are clearly marked. A panoramic format 24x48, a panoramic format 33x48 that also exposes the sprocket area, the standard format 24x36 and a sqare format 33x34
that also exposes the sprocket area.

jpg/diana_f_35mm_back_IMG_6868.JPG
Before you can attach the back, you have to get the roll pegs off the body. The easiest way is to push the left one of the notches from the inside and then unhook the rest.

jpg/diana_f_35mm_back_IMG_6869.JPG
The back attached. The lever near the top sets the counter according to te format mask (panoramic or standard). Do not forget this. There is a film type window and a reminder for the format masks.

jpg/diana_f_35mm_back_IMG_6870.JPG
Seen from the bottom. Film rewind lever, back attachment lever and film advance coupling which has to be retracted before rewinding the film.

jpg/diana_f_35mm_back_IMG_6871.JPG
Back open with 24x36 mask installed.

I made tests on 35mm film with all the lenses. Please refer to the lens page. This is the result with the 75mm standard lens:

jpg/IMG_20161015_11.jpg
75mm standard on 35mm film, F8, 1/60s, good sharpness.

jpg/diana_f_splitzer_IMG_6831.JPG
The Splitzer and the instructions sheet.

jpg/diana_f_splitzerIMG_6836.JPG
With the Splitzer you can expose a part of the image first...

jpg/diana_f_splitzer_IMG_6837.JPG
...and then the second part.

jpg/diana_f_splitzer_IMG_6838.JPG
Even image quarters are possible or lesser parts if you want.

The Diana system lets you play with a lot of photographic possibilities. Just let your imagination run free, the basic features are there.

back